So you’re looking into more targeted messaging options to help mature your marketing efforts. That’s great! But where do you start?
Sending targeted messages at scale can be tough to navigate, especially with a small team and limited time. But Eloqua does provide multiple options for personalizing messages for better targeting. One of the most powerful — if utilized correctly — is dynamic content.
First, the What:
Dynamic content is basically a way for your team to set up different pieces of content for specific parts of your audience, or segment, for each campaign. What exactly does that mean? Well, say for example you want to send an email to CEOs in diverse industries a whitepaper, but you don’t want to create a different email with specific, relevant copy and images for each industry. Using dynamic content, you can set up copy and images in one email that will populate dynamically based on the industry or company field in each recipient’s contact record.
Then, the Why:
Dynamic content is not the solution for every segmentation problem simply because it can take a lot of time to configure the rules correctly, and sometimes it is not worth the effort if you aren’t looking for highly specific communications.
For example, if you are largely filtering your audience list based on industry or some other unifying characteristic, chances are you will only need one email. Similarly, if you only have one or two versions of an email you wish to send, simply create those two emails and use segment filters to find the people you would like to send to.
Dynamic content is most useful if you have a high degree of specificity not only in the content of your emails, but also high diversity in the group of people to whom you are sending the content. Through dynamic content you will be able to create many combinations of imagery and content based on highly specific and custom selected contact information.
Finally, the How:
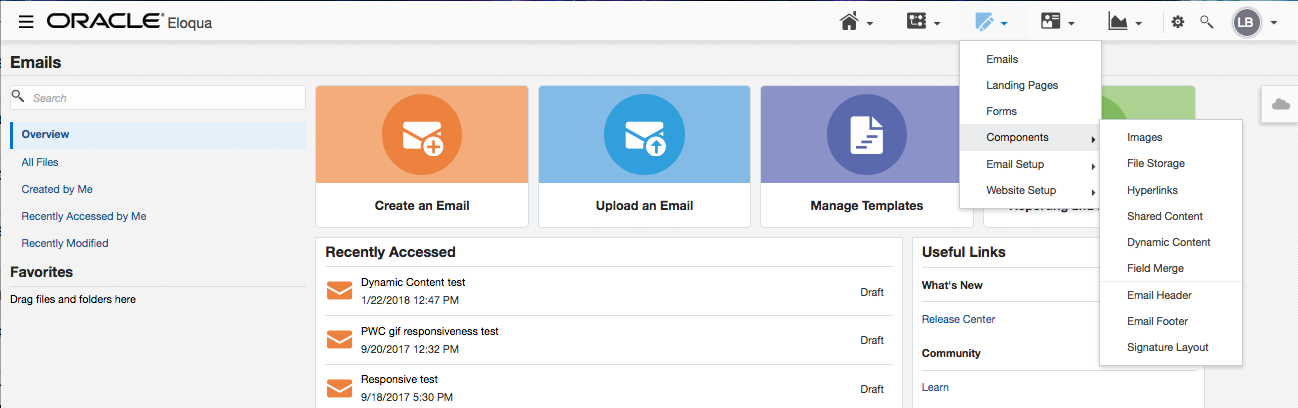
Navigate to the Email tab in Eloqua’s navigation bar, hover over Components, and look for Dynamic Content in the drop-down menu. Once you click through, you will see a folder system similar to those for other assets. To start a new piece of dynamic content, simply click the “New” button in the top right corner of the screen.
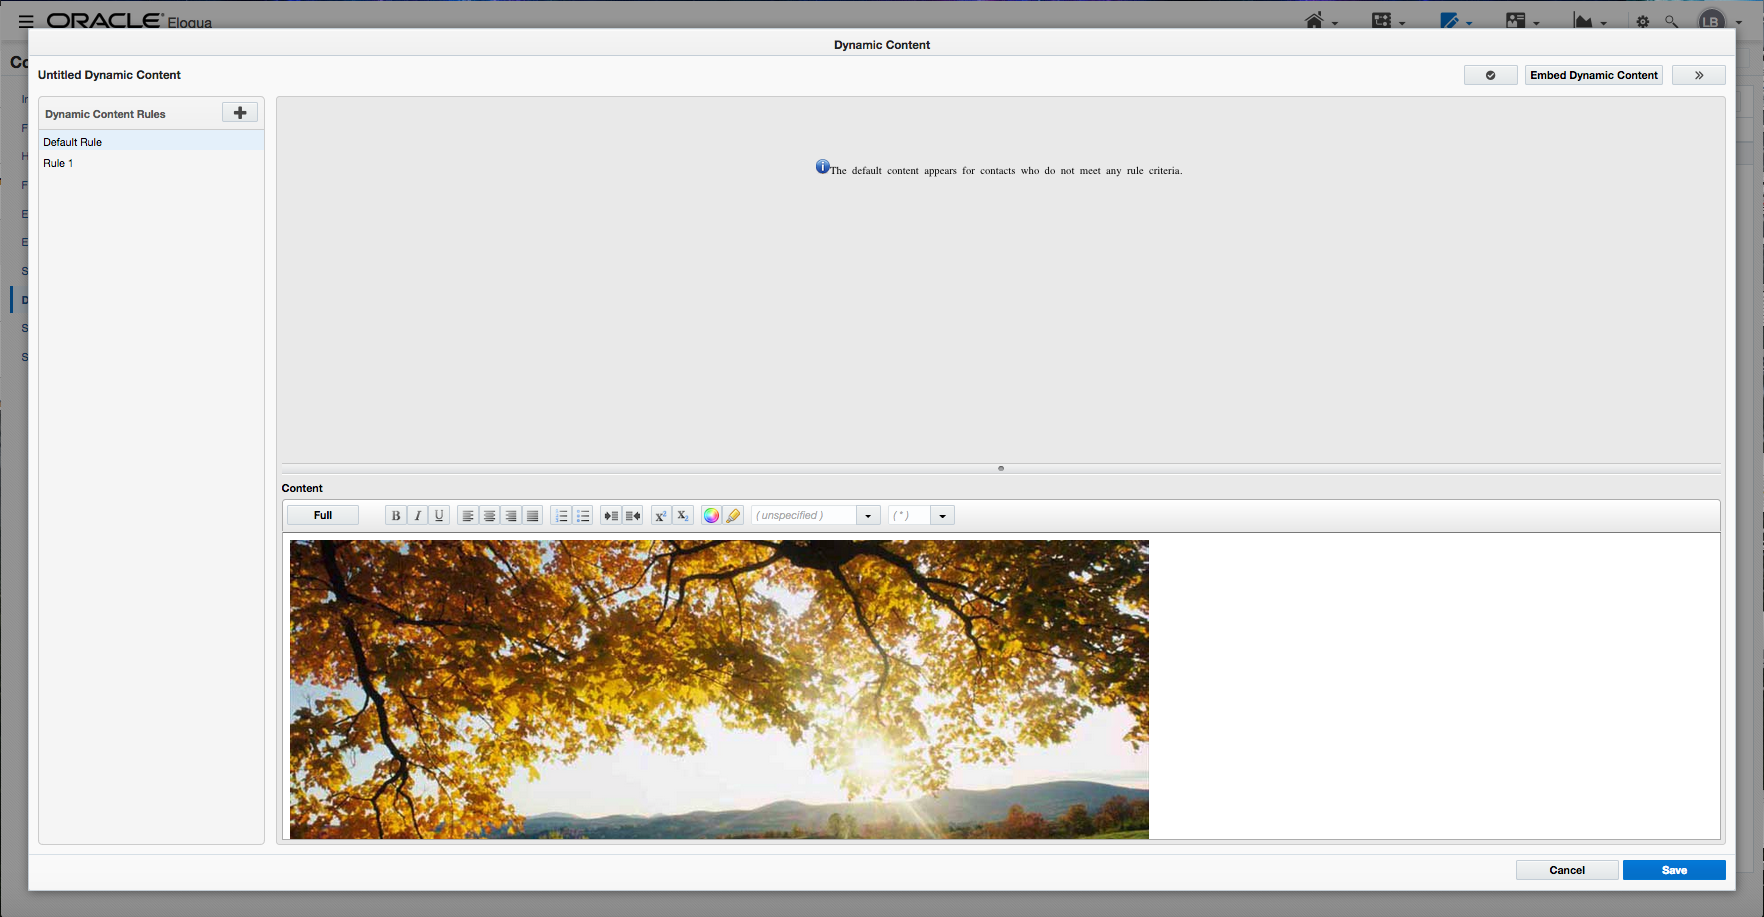
When you see the dynamic content menu appear, start by naming your asset in the top left corner — then you can get to work on configuring your rules. Start with the default rule. This will be the version of content anyone on your send list who doesn’t meet any of the criteria rules you set gets.
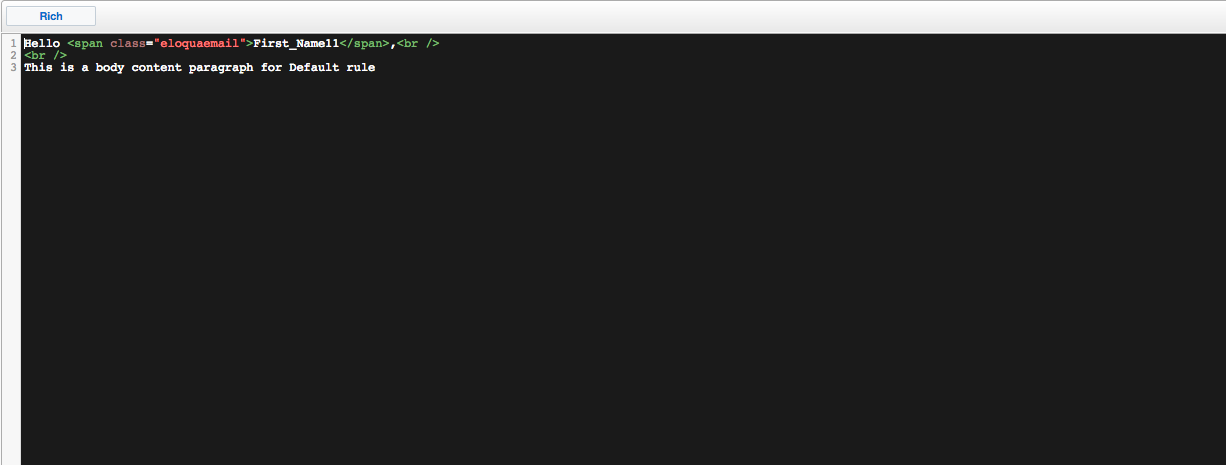
Since the default is exactly that, you will not have to add any filter rules in the top portion of the menu, but you should add content in the bottom portion — either through the WYSIWYG editor (which is the same as that found in the header and footer builders) or the HTML editor. If you already have HTML available, simply paste the sections that you need into the editor to create the default.

To create the rest of the portions of the email, add rules with the plus sign located in the right corner of the left column. You can name these rules as you please, but it will be helpful to give them a descriptive name. For example, if you are sending specific content based on industry, name each rule one of the industry categories that corresponds to the content within.
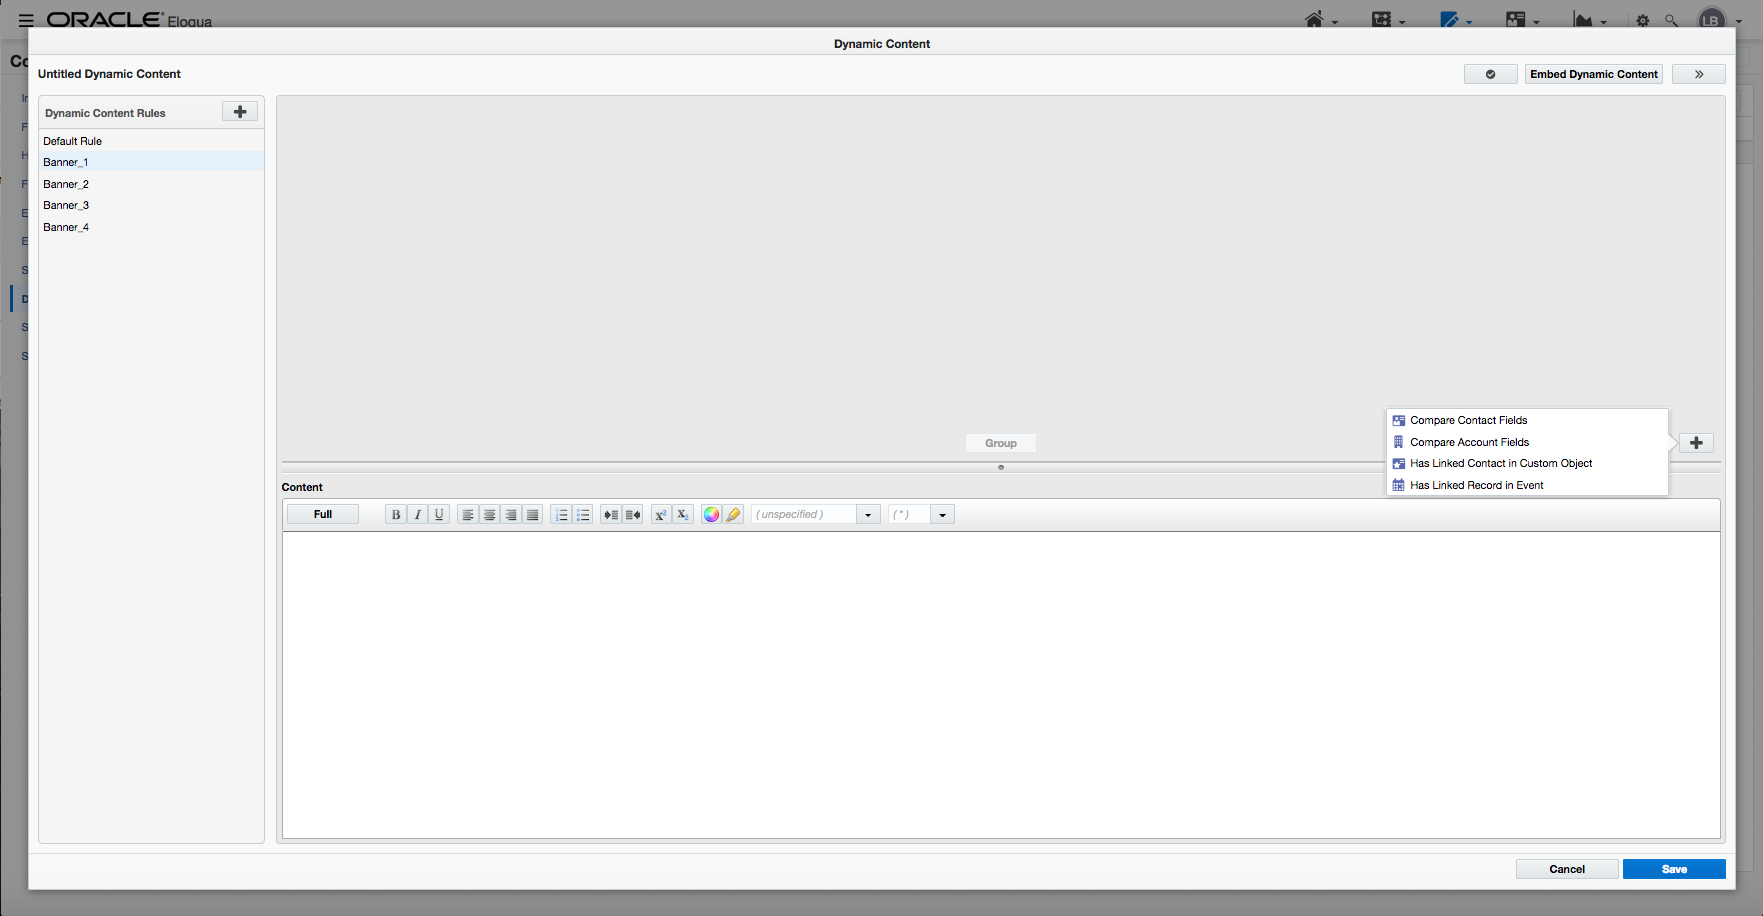
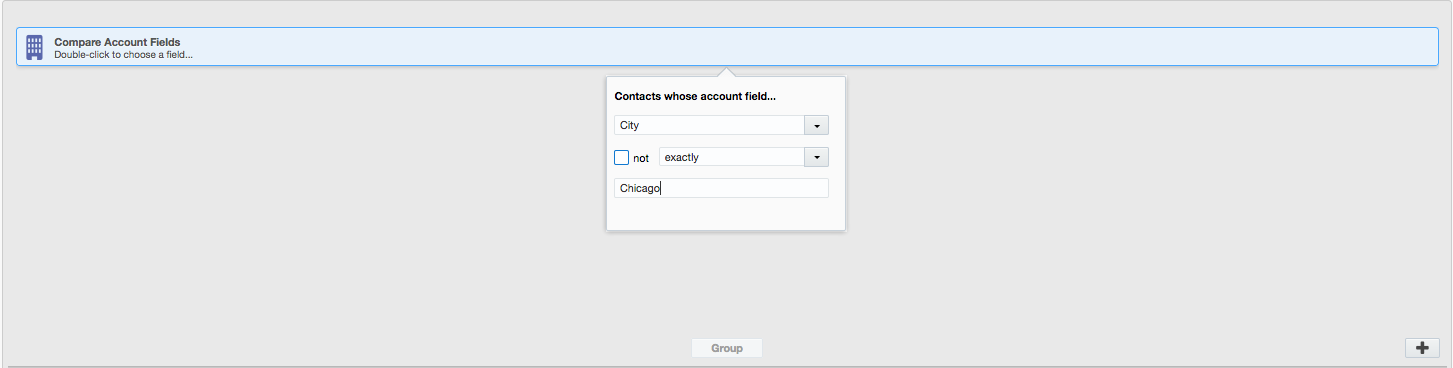
Once your rule is named, you can choose what data field Eloqua should match on to decide if each contact will get that specific content. Start by clicking the plus sign in the bottom right corner of the top box in the right column. You will be able to choose from a variety of data types, including contact field data, custom object record fields, event records, and account fields. Simply configure the logic based on the set of criteria you would like each contact judged on — exactly how you would configure a new segment using filtering logic.
Use the same steps as above to create as many different rules as you need.
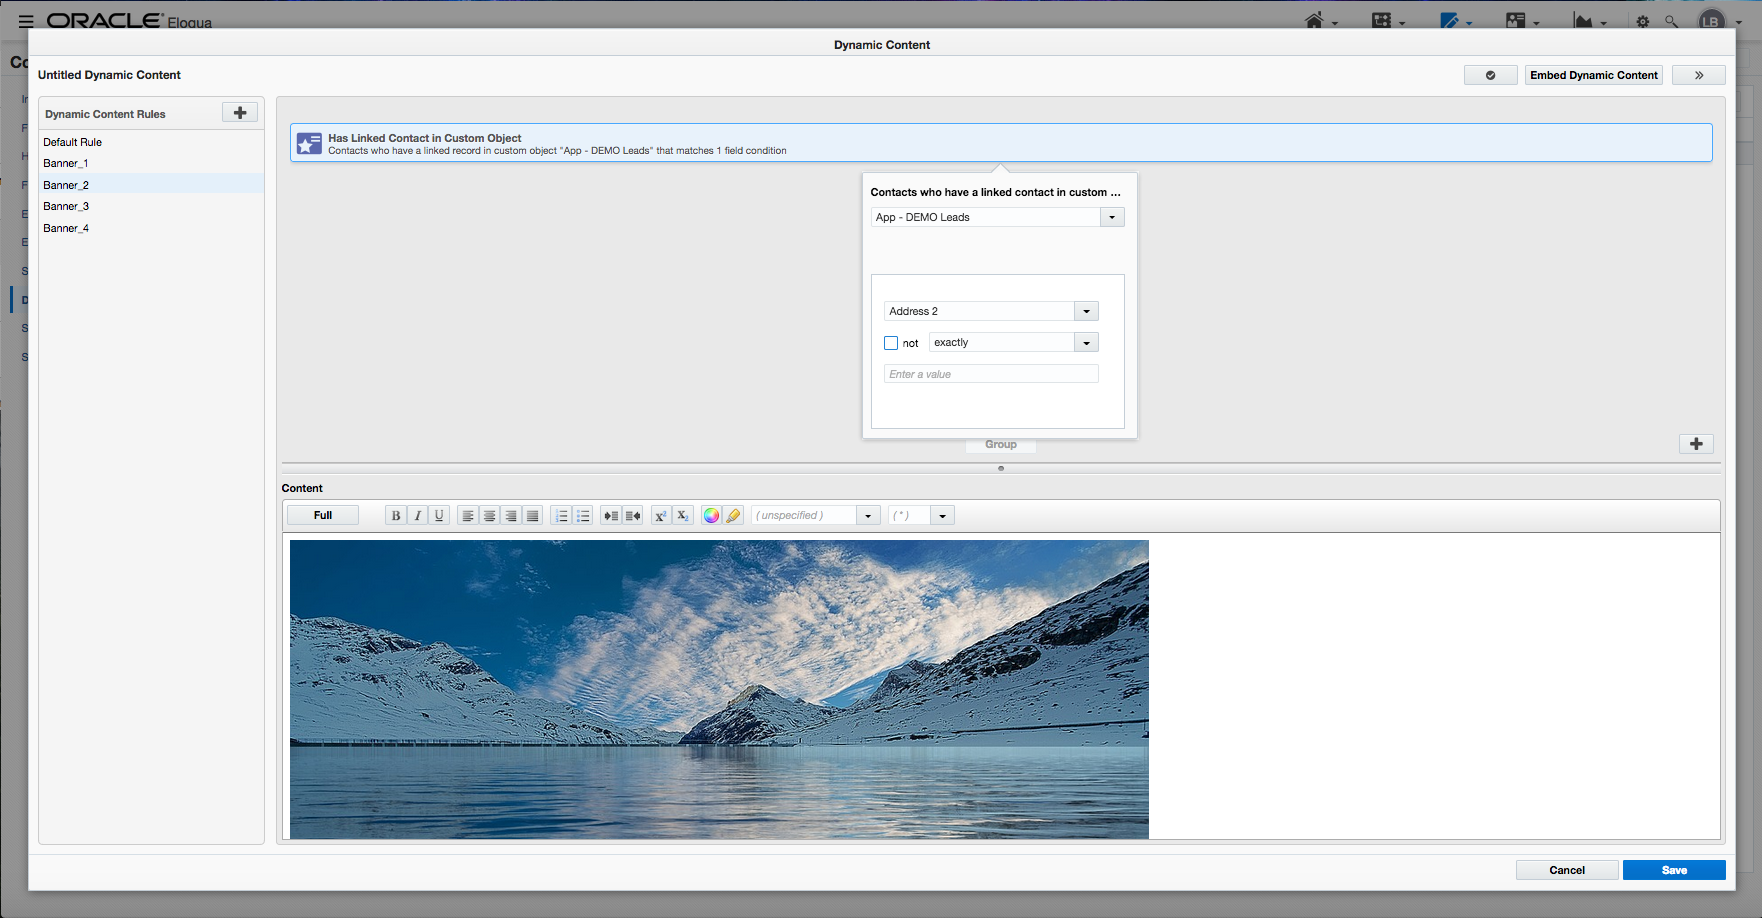
One thing to keep in mind when you are creating your rules and ordering them. Eloqua runs through these rules in the order that you program them, so start with the most specific rule you have first.
For example, if the first rule states to simply send the content if the city field exactly matches “Cambridge,” but the third rule is set to trigger only when the both city and company fields exactly match “Cambridge” and “Harvard,” all the contacts you think should get the content from rule three will actually get the content from rule one, since the stipulation in rule one is met. If the rules are physically reversed in order, the content will go out as expected since the contacts with the city and company fields matching your criteria will now meet the criteria of rule one and the email will be sent out to them first.
Once you are finished setting up all rules for your piece of content, it is always good to check your code for responsiveness. To run a check, click the checkmark button found in the top right of the editing window.
Pro Tip: You can include other personalization, such as field merges, in your dynamic content as well. Simply look for the code of the field merge you would like to use (the easiest way is to drag a field merge into a draft email’s HTML editor and copy it from there), and paste it into the HTML editor for the dynamic content as you would any other code.
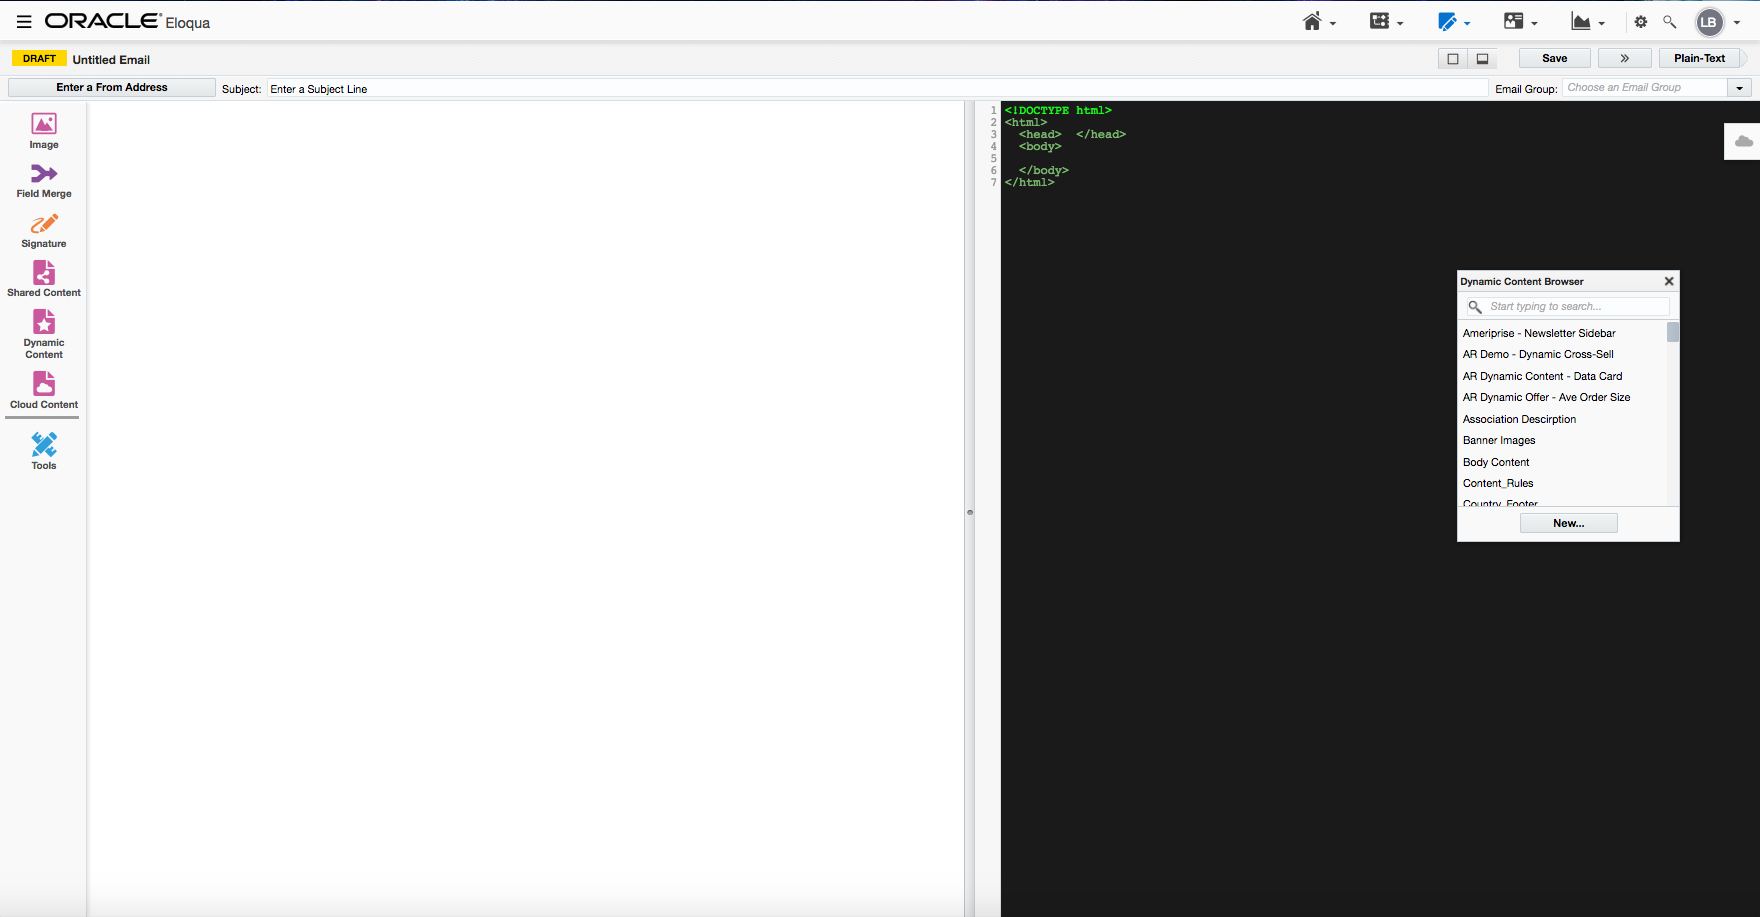
Finally, once you have all rules created for your dynamic content, navigate to your draft email and click the Dynamic Content icon in the left-hand column. Search for the name of your content and drag it onto the editor where you would like the content to appear.

Pro Tip: If you would like to use your dynamic content somewhere other than in an email, Eloqua provides code snippets you can embed anywhere. Simply click the “Embed Dynamic Content” button in the top right of the editing window and follow the instructions.

Make sure to send the email to a test list with all data fields being evaluated filled with different values to make sure everything is working correctly and Eloqua sends the desired email. Then you are all set to send personalized messages to diverse audience members at scale!
Our team is full of Marketing Geeks. If you find you have an issue, need help with Eloqua or need a deep dive into your marketing strategy, contact us! We love helping companies take their marketing efforts to the next level.